
It all started with a picture my son sent me. But first I have to explain …
The ideal vision for my century-old French Norman home lies somewhere between Parisian chic and French brothel; which is to say classy, of course, but why stop there when you can go completely over the top.
I had wanted to add more pink accents in my bathroom, pink being the complementary color to the vintage jade green tiles and therefore the most impactful.
Then out of the blue I received the gift from my son – a pen and ink drawing of a woman in a pink blouse sitting on a bridge in Paris, drinking a coffee and holding her shopping bags; the Eiffel Tower in the background. It’s a really cute drawing despite the fact that in France you’d never get a coffee “to go” when you could sit at a cafe and people watch, but the thing I love most about it is that my son sent it to me for no other reason than he thought of me. And it has pink in it.
That set off my most recent “fit of feng shui” – an unrelenting impulse to binge-decorate. So I thought I’d share what I did and why I did it, and maybe it will spark your own feng shui attack.
Let’s start with the color wheel. In a word, USE IT. Okay, two words. You could make a life’s study out of using a color wheel. But here’s the crash course.

The standard color wheel is based on Sir Isaac Newton’s study of prisms and the resulting visible light spectrum of primary colors. You remember Sir Isaac – developed the theory of gravity when he saw an apple fall straight down, not up or sideways. He had a scratchy-beard moment and boom – gravity was born.
There are alternative color wheels too, such as the one developed by my mother-in-law, Interior Designer and Architect Gloria Jaroff, based on the colors found in nature to create amazing color combinations. There are color wheels based on skin tone, and even anti-color wheels. But for now, let’s stick to the standard color wheel.
If you’re building a house from scratch or starting with a big white space, you can pretty much call the shots as far as color goes. But more often than not, there’s a dominant color that you can’t really do too much about, whether it’s a carpet you don’t want to get rid of or, in my case, an antique tile that I wouldn’t change for anything.
This dominant color is your “key color”. Now you’ll use the color wheel to choose the best colors for accent.
To create the greatest impact, your accent color would be the complementary color, the color directly opposite your key color on the color wheel.
To create a more serene environment, you would use analogous colors, the colors immediately on either side of the key color.
And for a vibrant but harmonious feel, you would use a triad – colors evenly spaced around the color wheel.
The shade of color has to be taken into consideration as well. For example, green and red are complementary colors. But the tile in my bathroom is a pale green, so the complementary color would be pale red, a.k.a. pink.
And that, my friend, is the longest explanation in the world for why I chose pink.
Ok, back to the bathroom.
I have a little antique desk in my bathroom, a piece I’ve owned for almost 40 years. It’s been everything from a work desk to a place for my children’s homework, it even went to live with my son for a while, and now it’s back as my makeup table. It’s been painted at least a dozen different colors, and it was time to do it again.
Using a sort of French powder room theme, I painted the desk with black and white stripes on the sides, a black top, and pink accent on the drawers. It makes me smile every time I see it, so my work is done – for now.
White crocheted curtains, found very inexpensively on Amazon, were the finishing touch, giving the room a slightly Bohemian feel.


Now that the bathroom was all zhushed up, the adjacent hallway and den were feeling neglected. So, I finally pulled up by big girl knickers and undertook a project I’ve been wanting to do for a long time … painting the hardwood floors.
It wasn’t like I was taking a big risk – honestly the floors were needing to be redone when we moved into the house almost 10 years ago. They’d previously been refinished so many times that they would require a complete do-over anyway, so it wasn’t as if I could seriously mess anything up.
I spent days Googling different methods for painting hardwood floors and formulating my plan. And over the long Thanksgiving weekend, dear husband and I launched our attack.


Day 1:
We started the day by emptying the room of furniture, which was sort of like a Three Stooges act minus 1 stooge, and giving the floors a good cleaning which I did by mopping with a solution of water and white vinegar. A light sanding would have been a good idea too, but I just didn’t want to deal with the dust, and besides I figured after all these years, there couldn’t be that much finish left.
Once the floor was dry, we painted two coats of water based primer, first cutting in around the baseboards with a brush and then rolling the paint on the floor – super quick and easy.
That was followed with two coats of the base color, Behr Porch and Floor paint in Ceramic Beige, which is sort of a creamy ivory. I wanted high contrast but nothing as stark as black and white, so this was a great option.
FYI you can totally stop here. Painted floors in a solid color are beautiful as well as a fantastic, low-cost way to extend the life of an overly refinished hardwood floor in need of some love. Just top it off with a few coats of water based Varathane sealer and you’re good to go.
But like I said before, why stop there when you can be completely over the top.


Day 2:
I had been searching for a video that would explain “the easy way to tape squares on a floor”, but it was not to be found. Then I discovered why … there isn’t an easy way.
There’s a couple of things to figure out before you get started –
First is the size of square. It was sort of a Mama Bear, Papa Bear, Baby Bear situation – I looked at 12” but it seemed to busy, thought about 18” but it was too big, then settled on 14” which was just right and also a really easy size for making a template by taping together overlapping pieces of 8 ½ x 14 legal paper.
The next crucial thing to decide was where to begin. I have an L-shaped hallway, one leg leading into the den and the other leg leading to a down staircase, and wanted to make sure that a full row of diamonds went down each leg of the hall, continuing into the den. I lined up the template where those two lines would intersect, and that was my starting point.
If I didn’t have the hallway to consider, I would probably have started with a line across the center of the room. I don’t recommend starting along one wall, since rooms are seldom perfectly square. Also keep in mind that hardwood floors are laid to look visually perfect, so following the existing lines of the planks is useful in working with the template.
I spent entire day (and wee hours of the next morning) sitting cross-legged on the floor with masking tape and an X-acto knife. The tape needs to be precisely cut, not torn, at each corner, so that you have sharp corners, and the corners have to “kiss,” meaning no gaps between the tips of the diamonds. It’s incredibly tedious work.
When I started the day, I wondered to myself how much I might charge someone if I ever hired myself out to do this for someone else. By the end of the day, well, trust me, you can’t afford me. I can’t afford me.
Two vital words here – Frog Tape. I’ve never used it before because it’s pricier than other masking tapes, but the stuff is pure magic. I had zero bleed under the tape.


Day 3:
After a strong cup of coffee and taping the last couple of rows, it was time to paint the black squares. This went pretty quickly, we just carefully rolled them by hand. The only thing to really be attentive to is which squares to paint.
I chose Behr Porch and Floor paint in Satin Black, which is sort of a dull lamp black, since I wanted a vintage feel, not something that looked shiny new.
We painted two coats of black paint with a couple hours’ drying time in between, then pulled up the tape. And while I was absolutely delighted with the beautiful clean lines and sharp corners, I couldn’t help thinking about all those hours of taping, gone in a quick yank.
The whole enchilada was finished off with three coats of water based clear satin Varathane, with about 3 hours drying time in between (the last coats were done the following morning).
The furniture stayed out of the room another 3 or 4 days while we let the floor cure, carefully tippy-toeing through with sock feet when necessary. Also while the furniture was out of the room I couldn’t resist slapping up a fresh coat of paint on the walls.
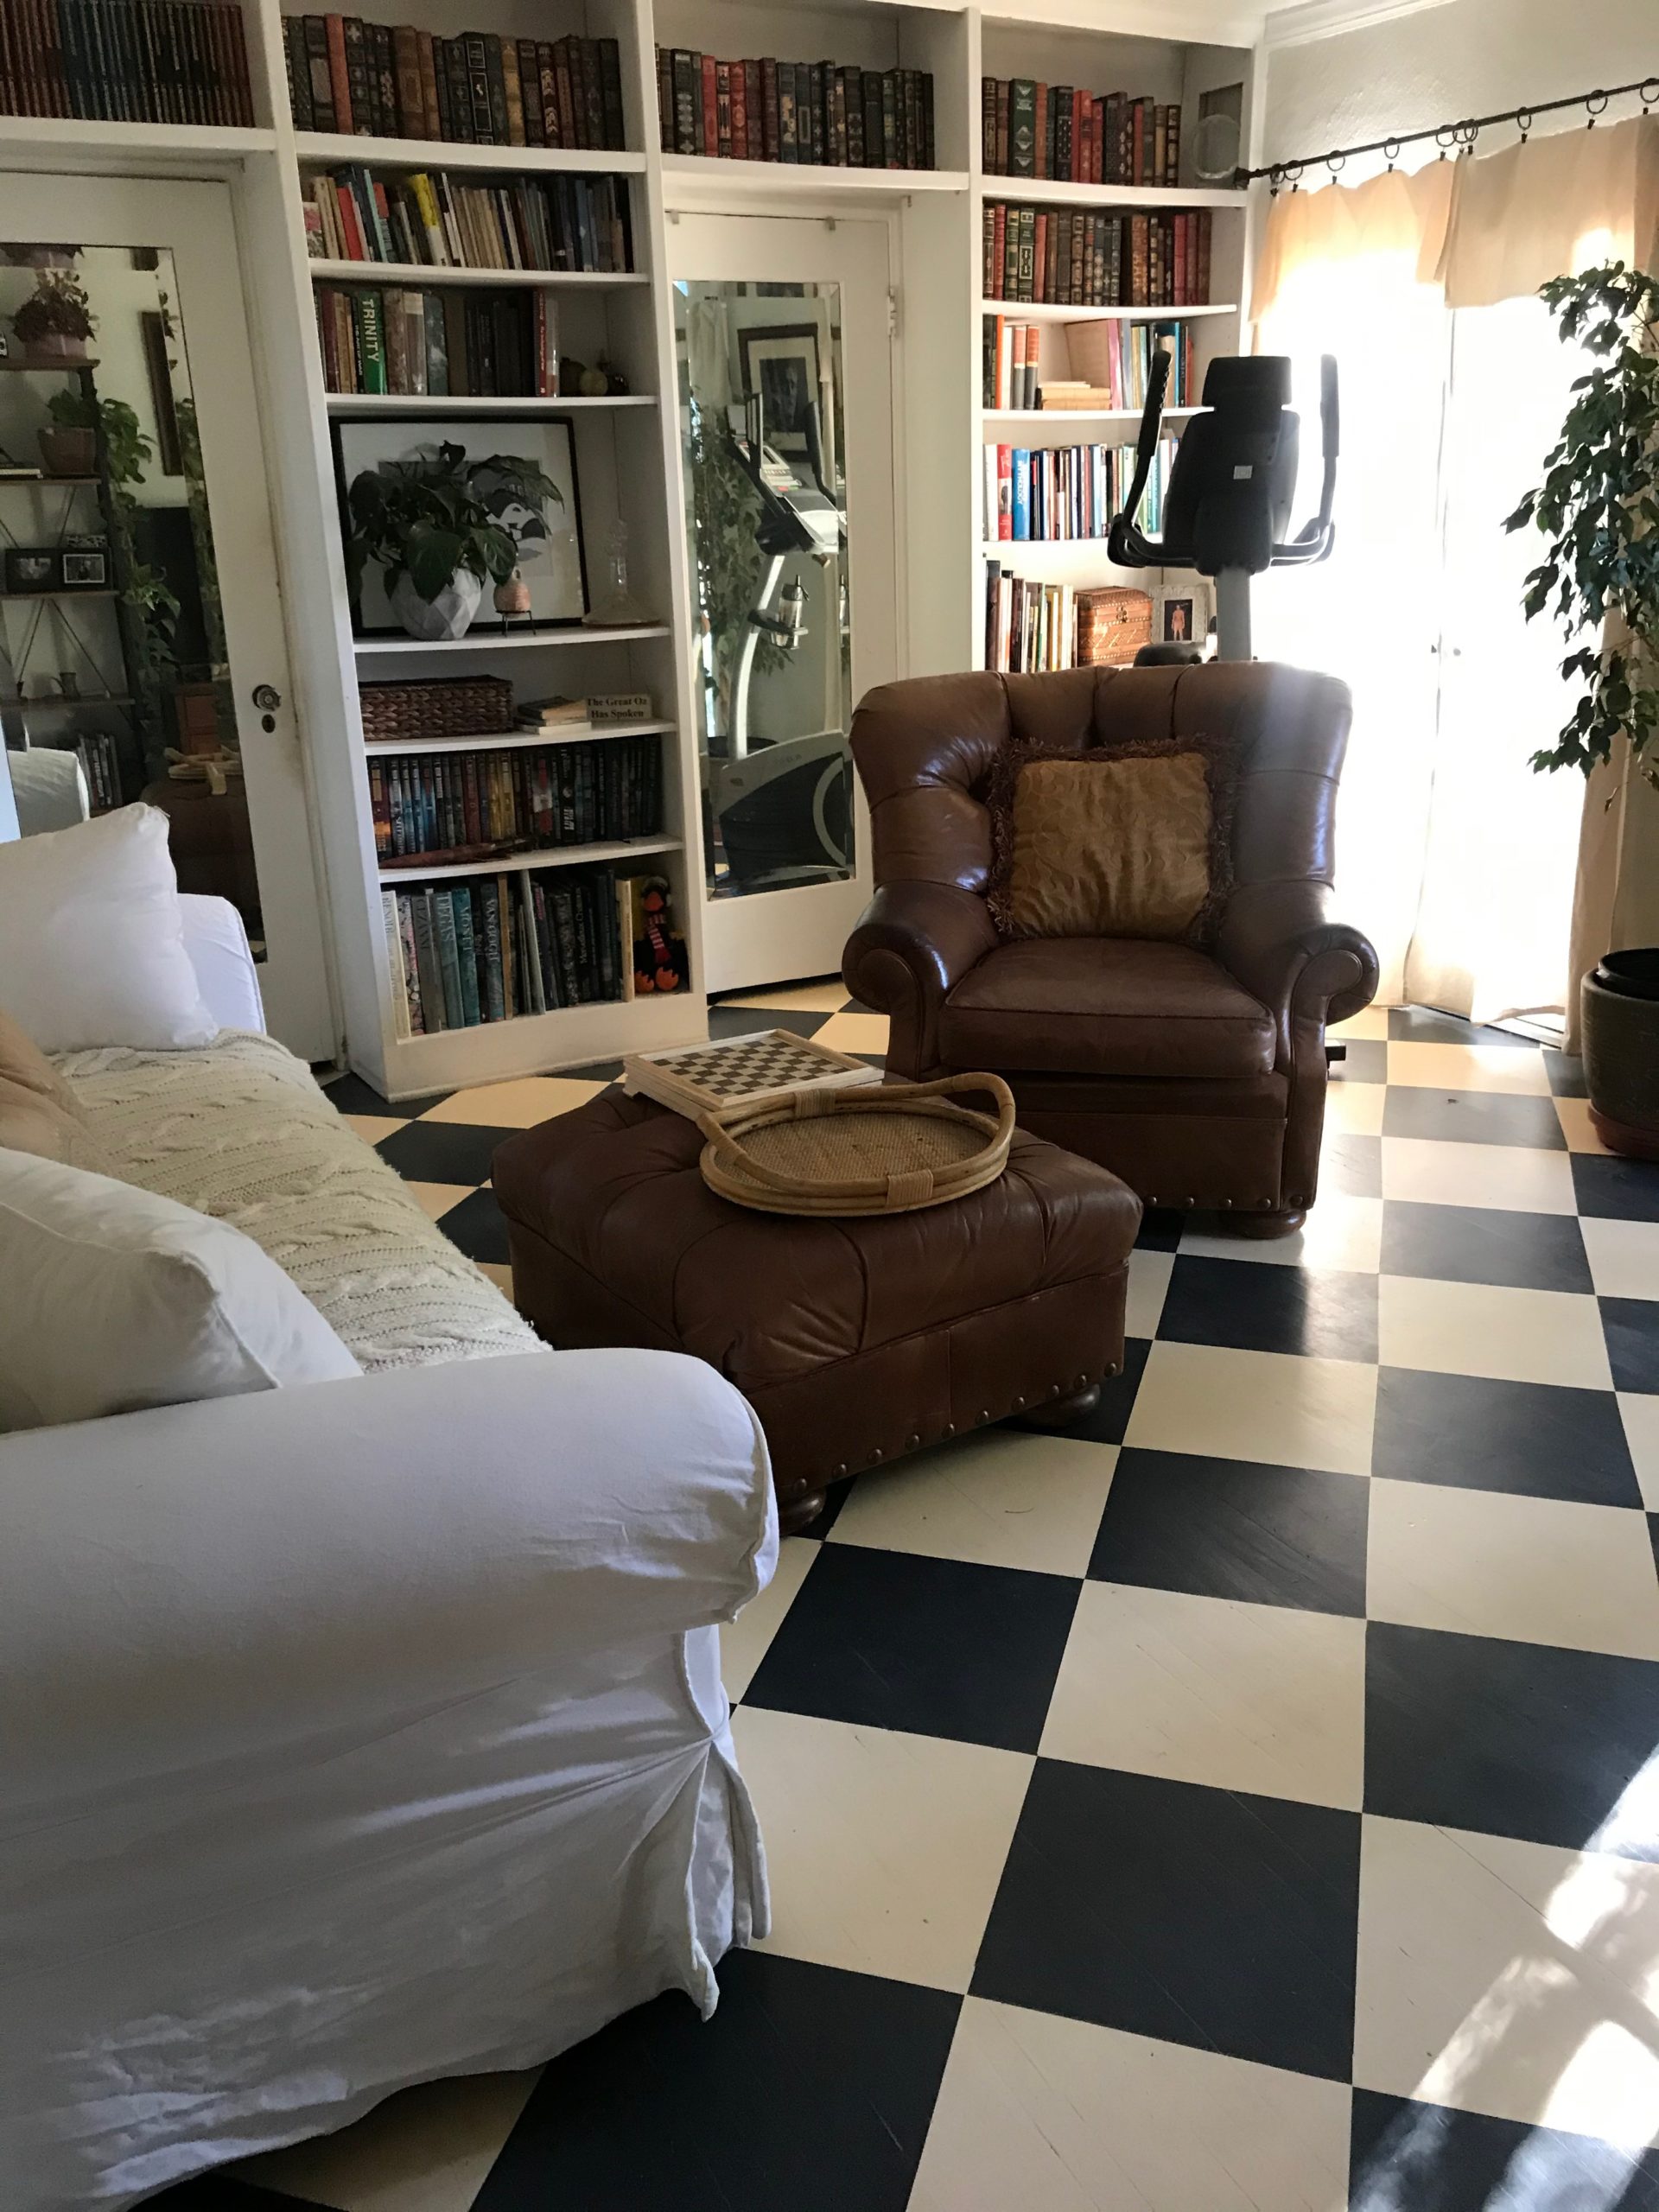


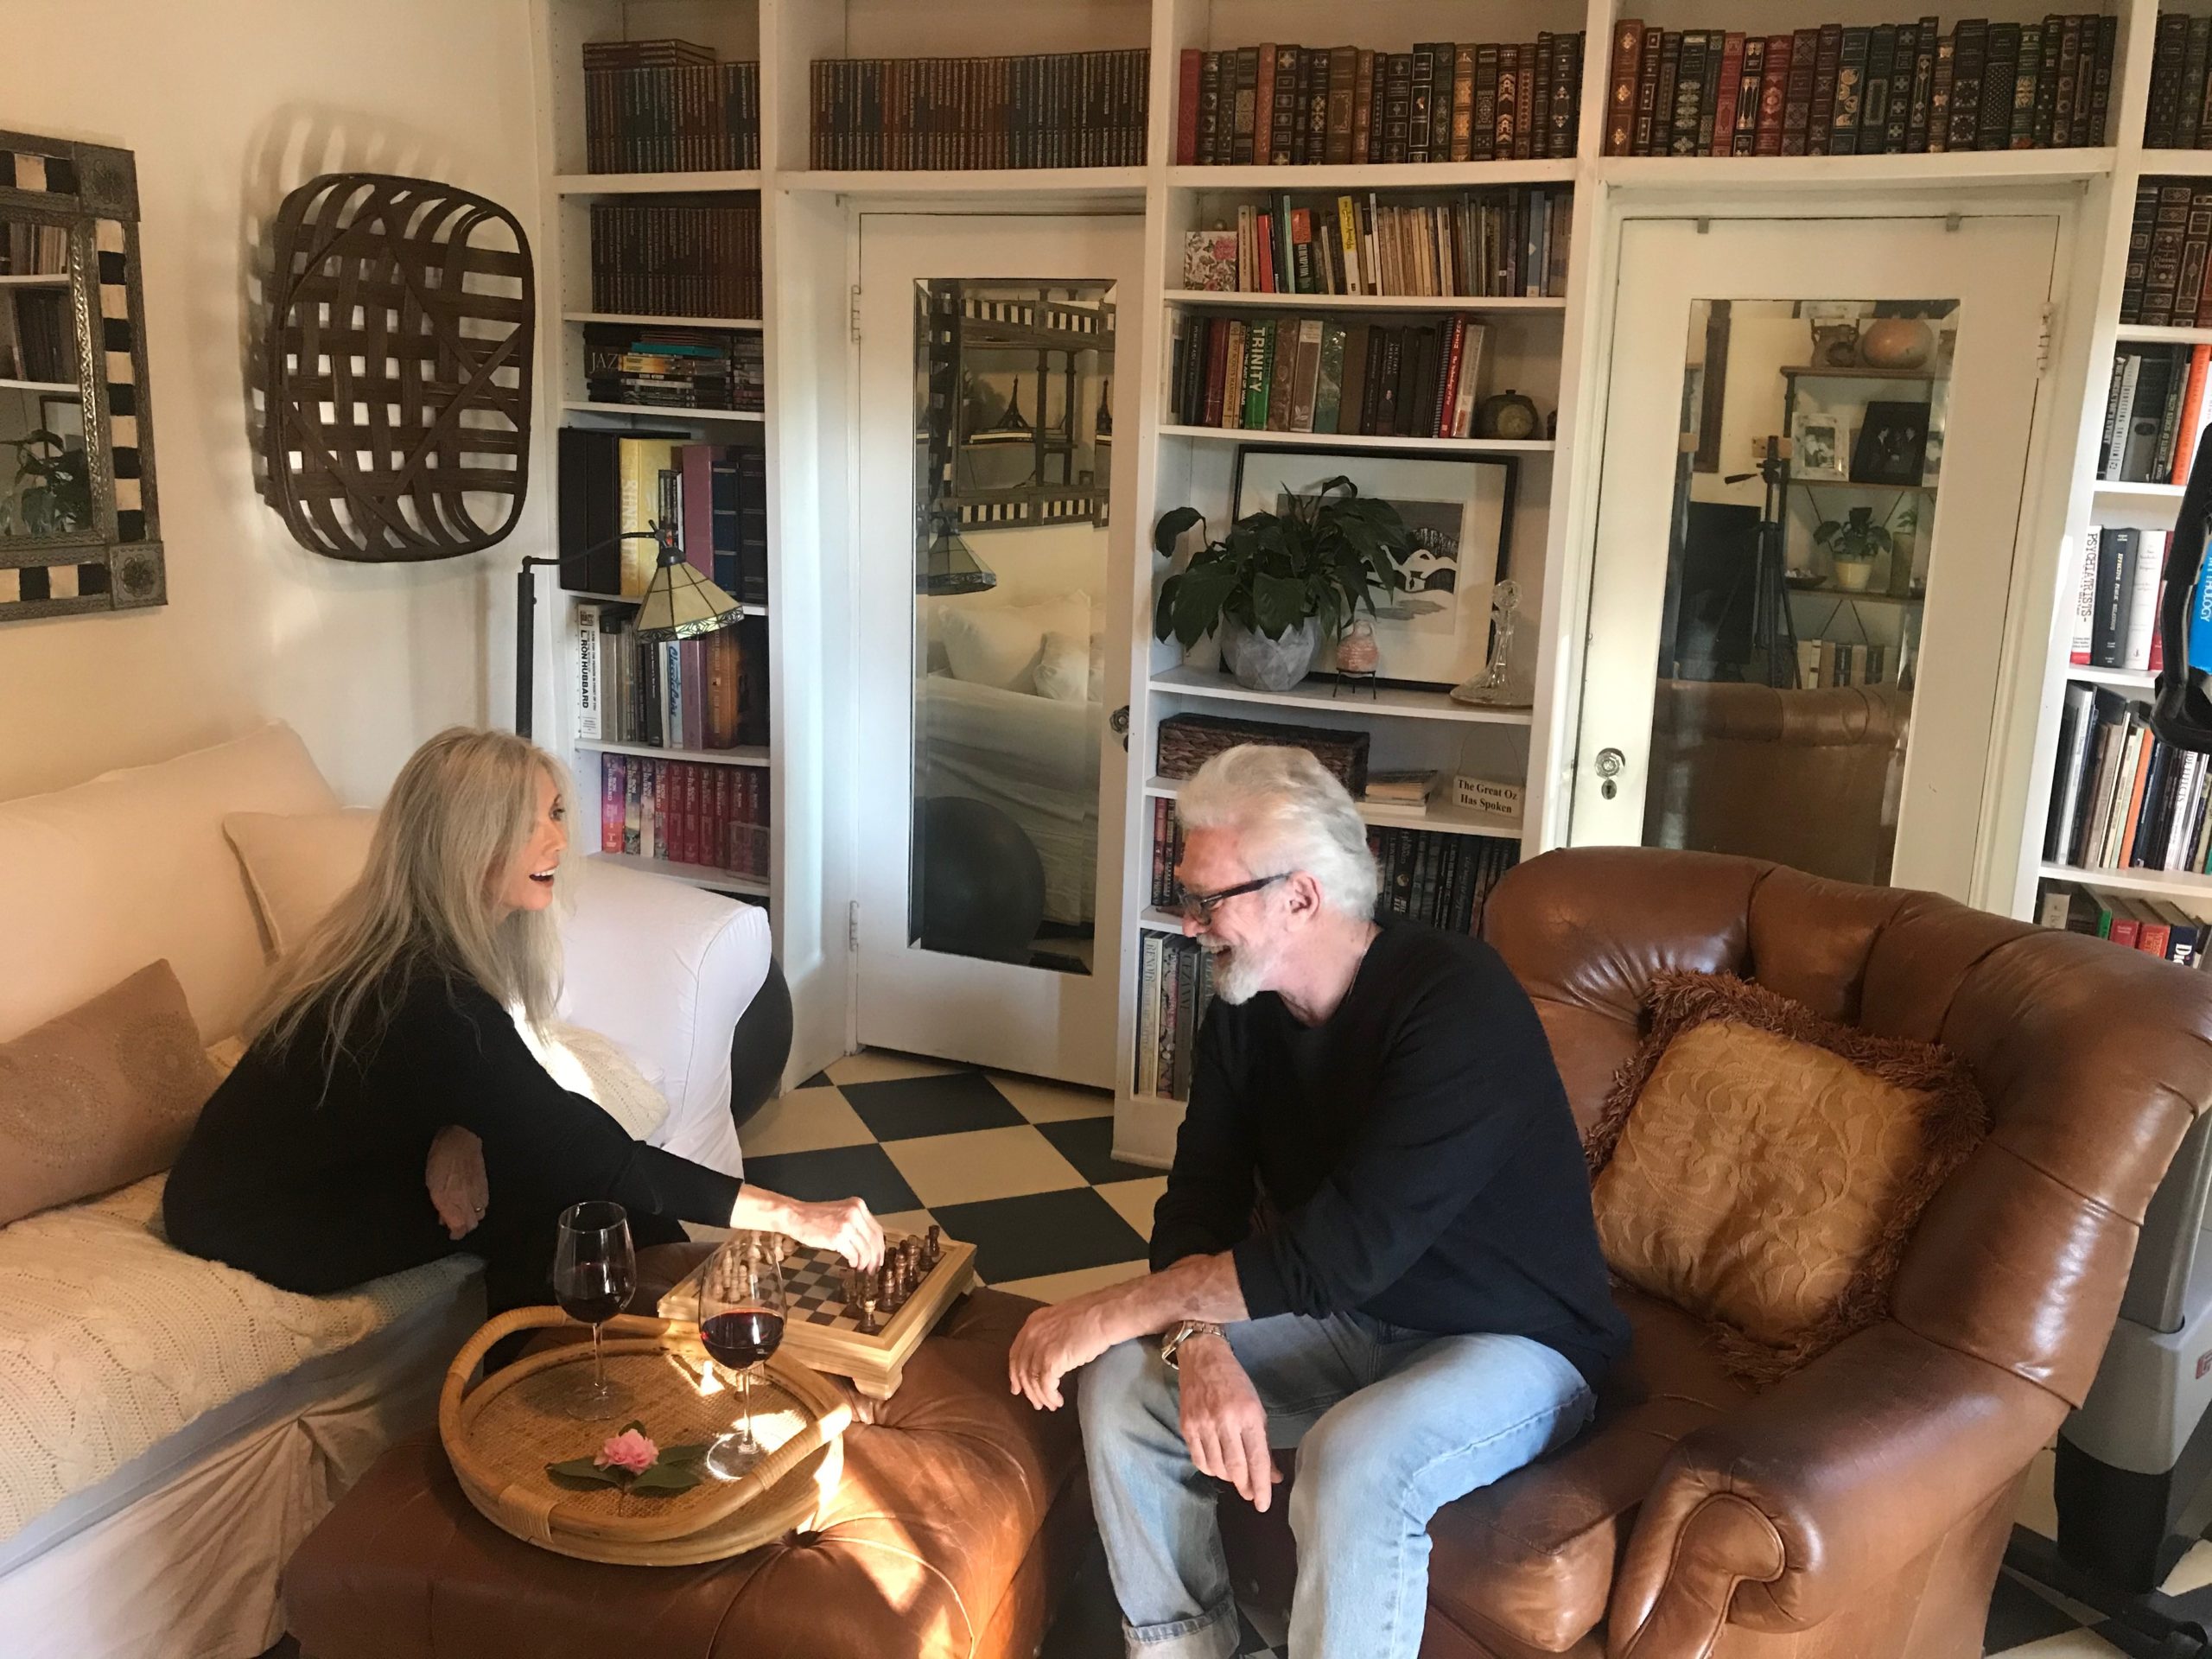
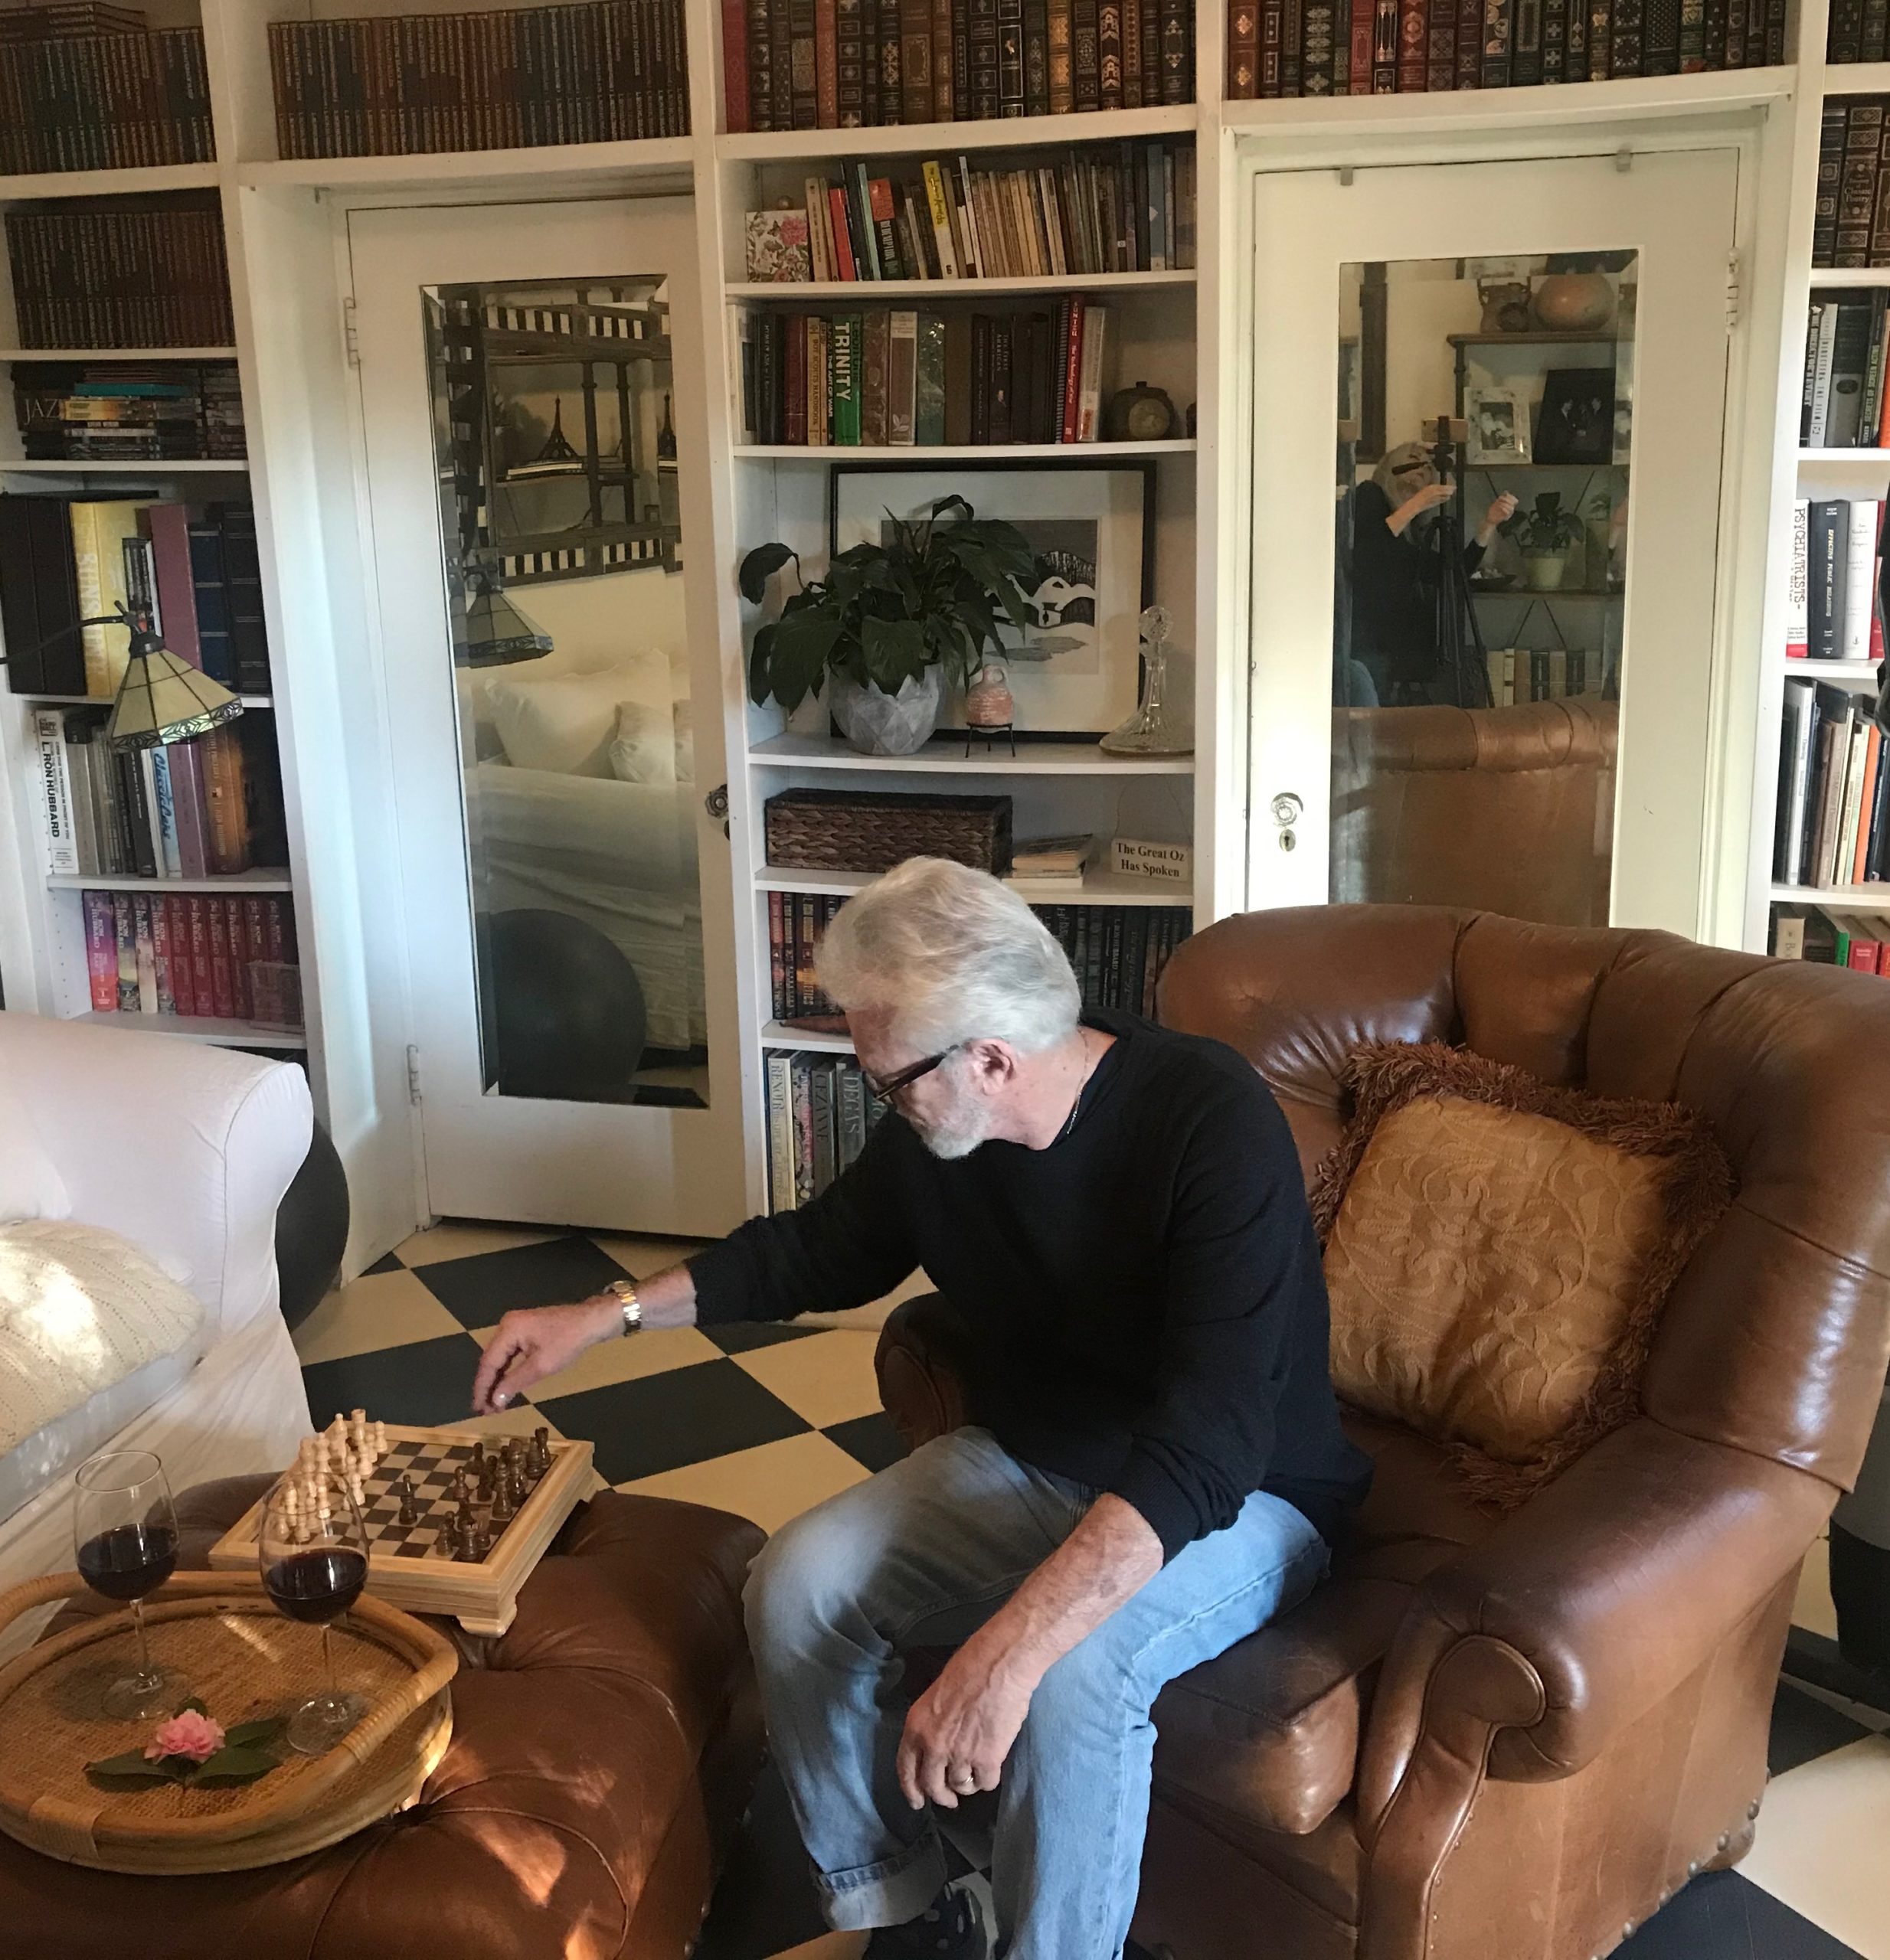
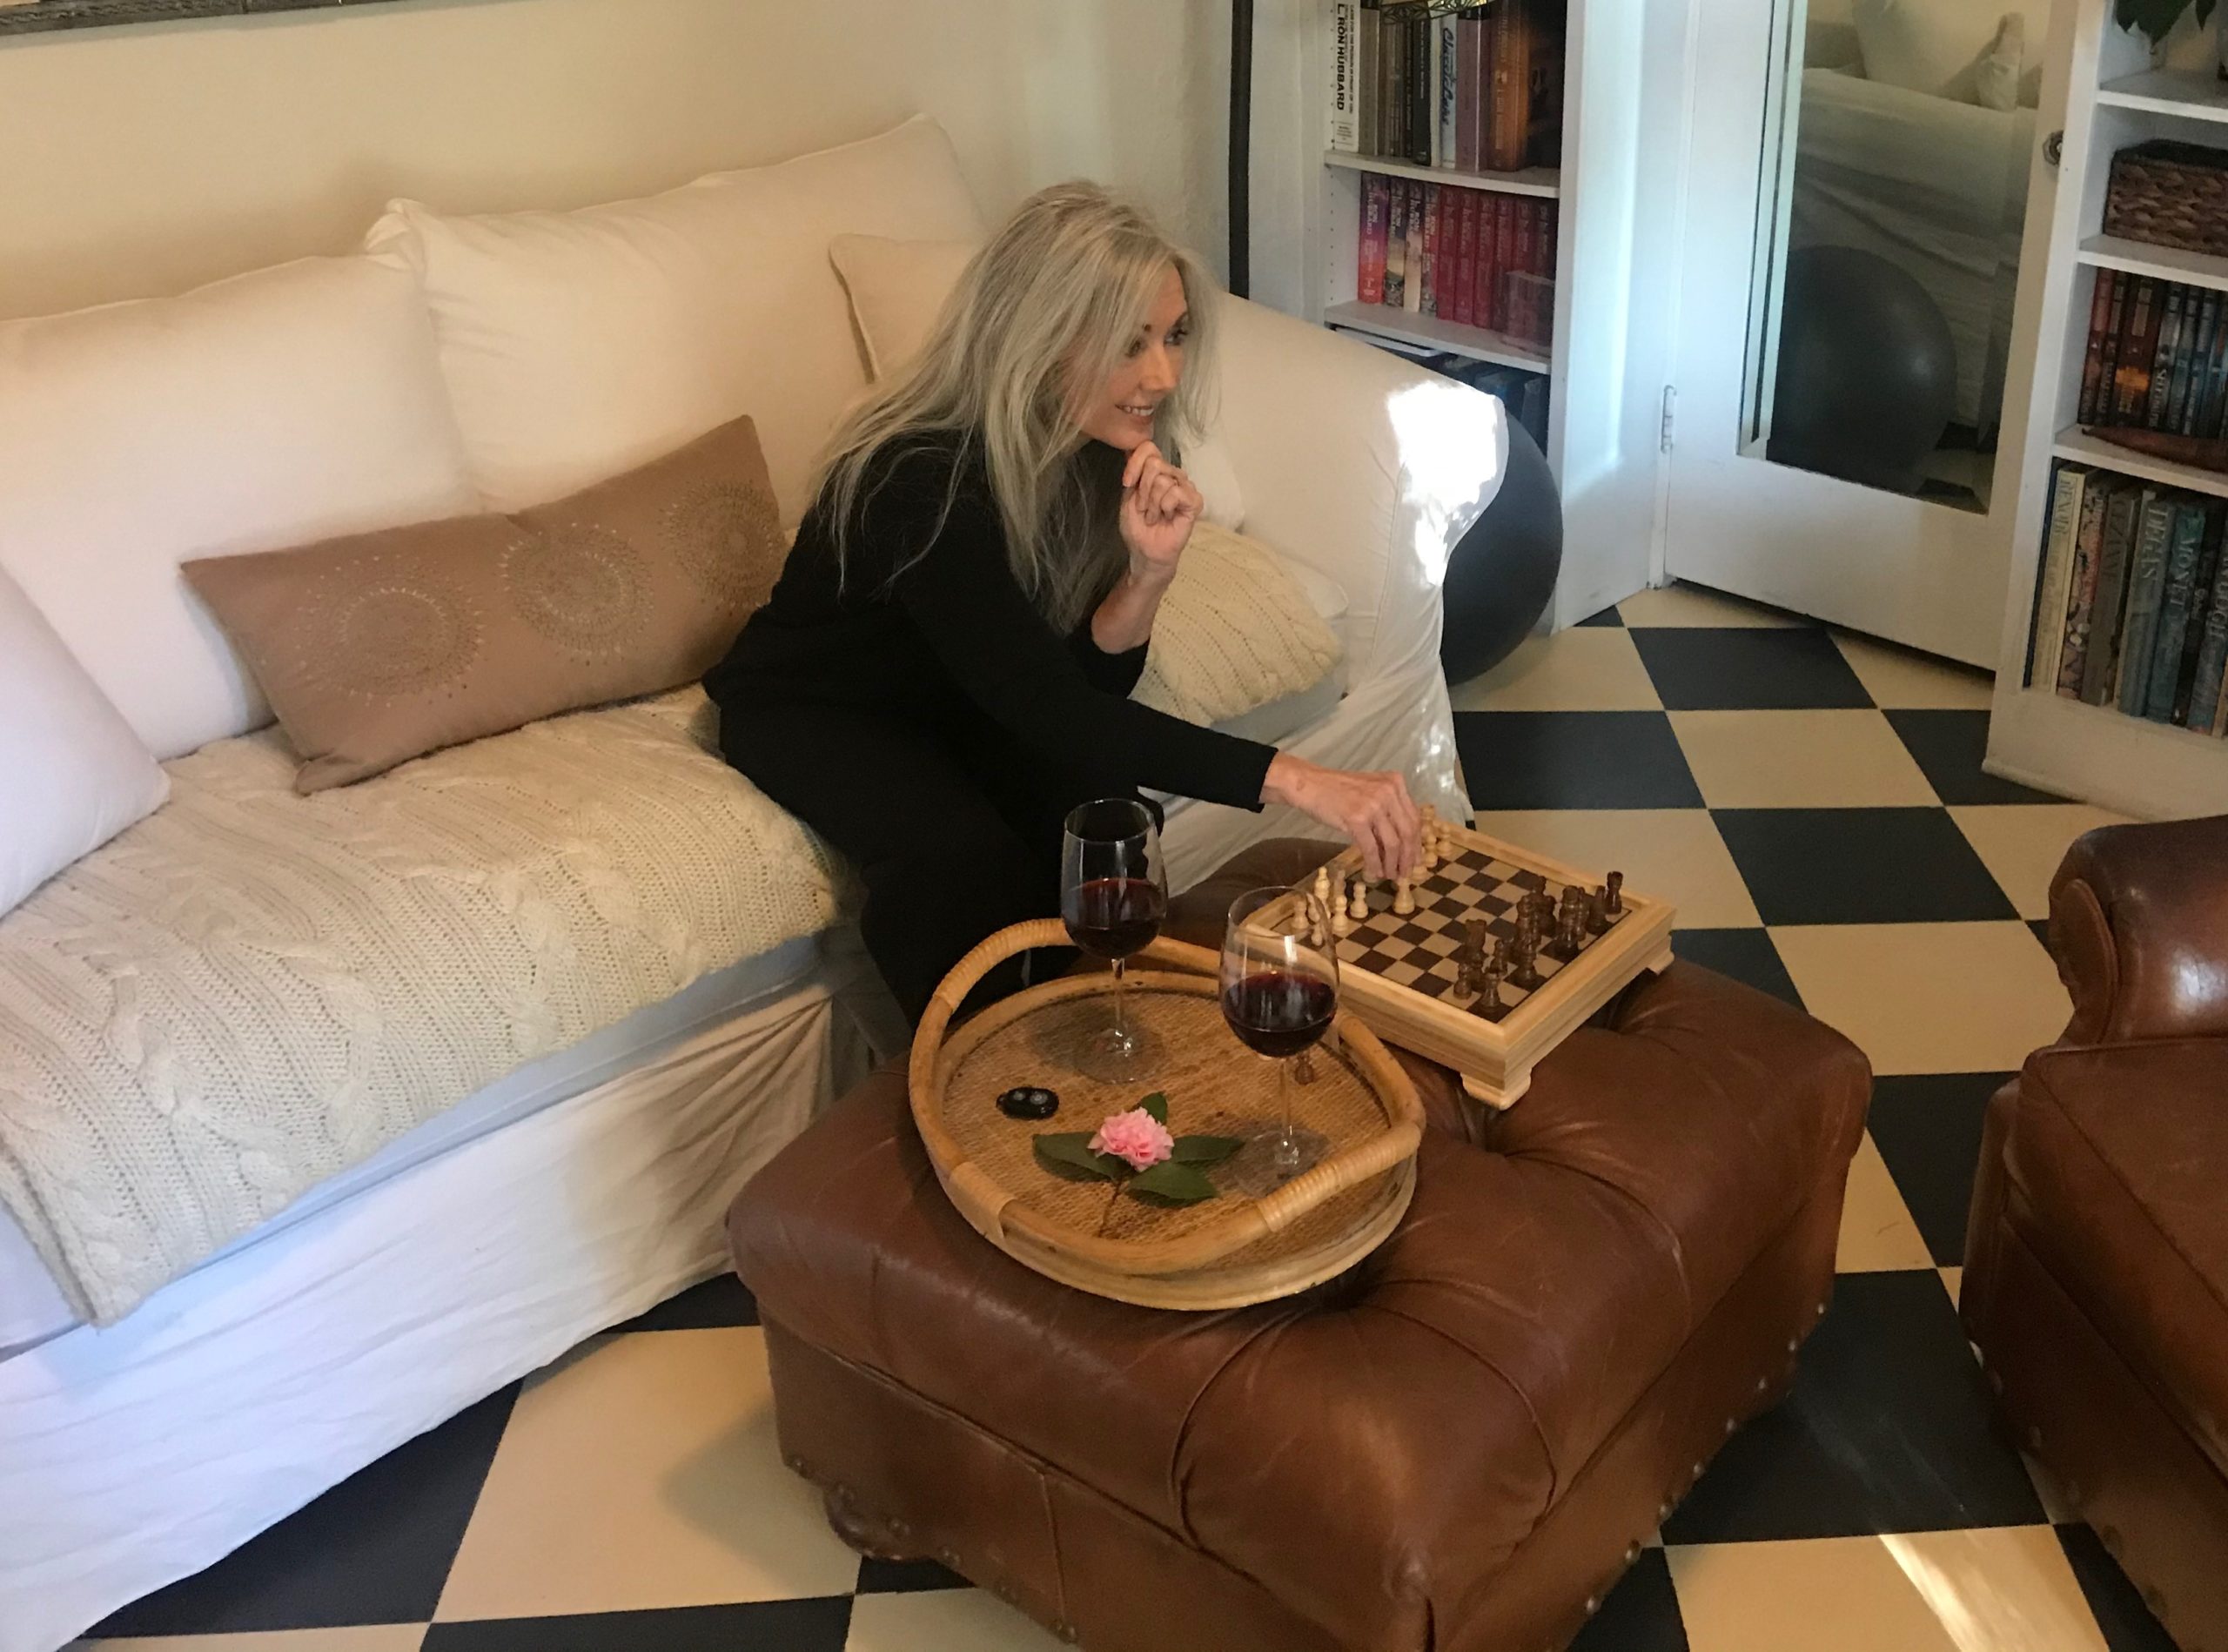

Finally the day arrived when we felt safe bringing furniture back in. Here’s the final result, and we love it.
You just never know what’s going to set off a “fit of feng shui” – a scene in a movie, a scroll through Pinterest, a walk in nature, or a gift from your son. Whatever it is, just jump in and enjoy. If you do something you don’t like, you can always paint over it. And if you paint yourself into a corner or get in over your head, just shoot me an email. I may not be able to help but I can at least commiserate.


I am in awe, both at the gorgeous results and the amount of work it took to get there! Stunning floor!!
What a fantastic endeavor and so beautifully executed, Kelley! Bravo!!
God kelley this is amazing!!!!! I am sooooooo impressed!!!! It is gorgeous!
Love the aesthetics and creativity!
Thank you😊
Soooo beautiful. Loved the tutorial. Believe it or not, i had just gotten out my color wheel the other day to help with a project, but wasn’t totally sure how to use it. You cleared that up for me! Yay! Nice pick on the hired help too. You’re such an inspiration!