
I love change – in fact the only things in my life not subject to change are my husband and kids. And my dear husband lets me get away with changing up just about anything in the house because he knows if I get bored, it’s time to move.
Want a fun little project you can do really fast to upgrade a plain, boring piece of furniture? Paint it with chalk paint!
Chalk paint is not chalk board paint as some people mistake it to be. I do use that too, but it’s a whole different animal.
I first discovered chalk paint a couple of years ago, and have been sort of obsessed with it ever since. It adheres to anything – glass, fabric, oil-based paint surfaces, the cat – anything, and lends itself to a sort of aged and rustic appearance. There’s not a room in my house that doesn’t have one or several chalk-painted pieces in it, including my kitchen cabinets (I’ll do almost anything to avoid painting with oil-based paint).
I originally purchased Annie Sloan chalk paint, which is pretty much the premier chalk paint in the most amazing colors. I immediately fell in love with it. But it’s pretty pricey and with my profound predilection for painting greatly exceeding my limited budget for supplies, I knew I had to DIY that shit real fast.


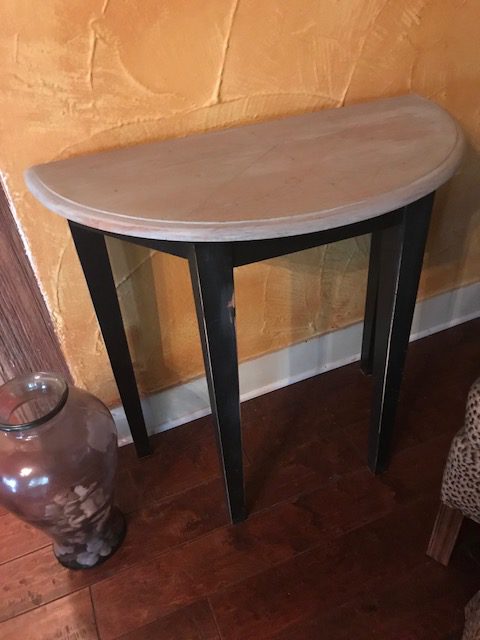


This little table was one of my “practice” pieces when I bought my first chalk paint. I had a little leftover Annie Sloan Paris Grey and wanted to put it to use. It looked fine, but didn’t really match the room and I never intended to leave it that way. So, a mere two years later, I decided to play with it again. I decided to do something fun and sort of McKenzie Childs, only more Parisian and less Alice in Wonderland.
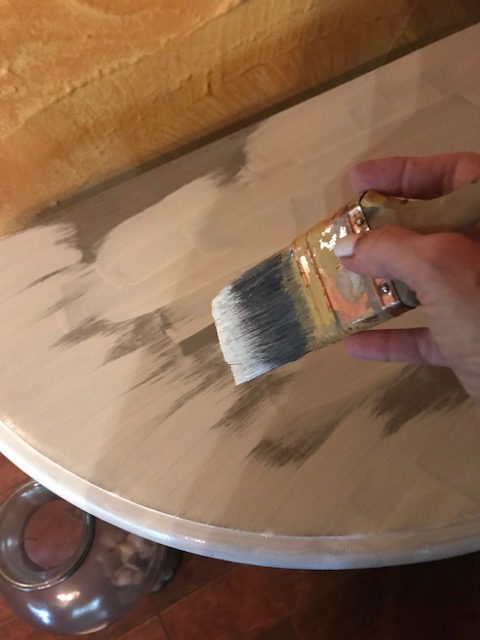
First step was to paint the top of the table with a base color. I used Behr Swiss Coffee, which I turned into chalk paint.
You can make any paint into chalk paint by mixing it with Plaster of Paris and water. The basic recipe is equal parts of Plaster of Paris and water and 4 times that amount in paint (for example, 1/4 cup Plaster of Paris, 1/4 cup water, 1 cup paint). This was just a tiny project so I just sort of eyeballed it.
The first coat goes on sort of like primer, kind of thin and streaky. But fear not, it dries really fast and by the time you’ve finished the first coat you can paint the second or third. This took me maybe 5 minutes to mix the paint and about 10 or 15 minutes to paint three coats.
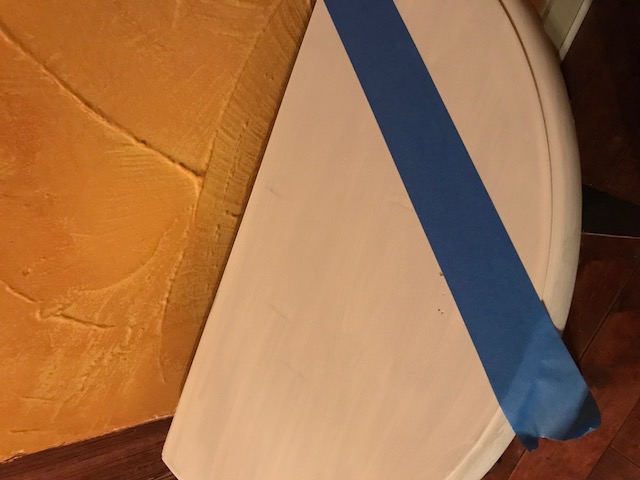
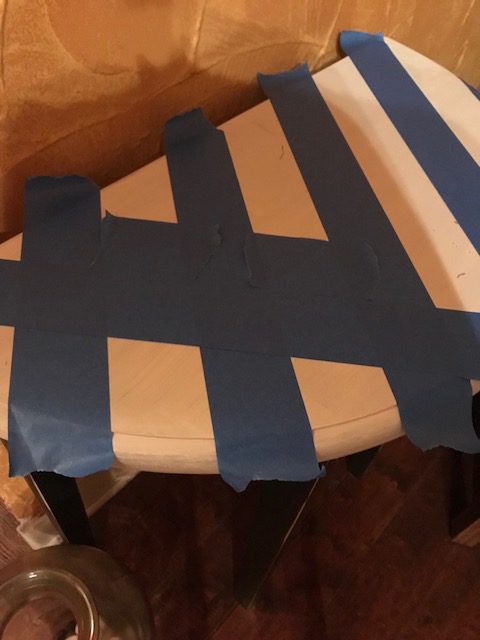
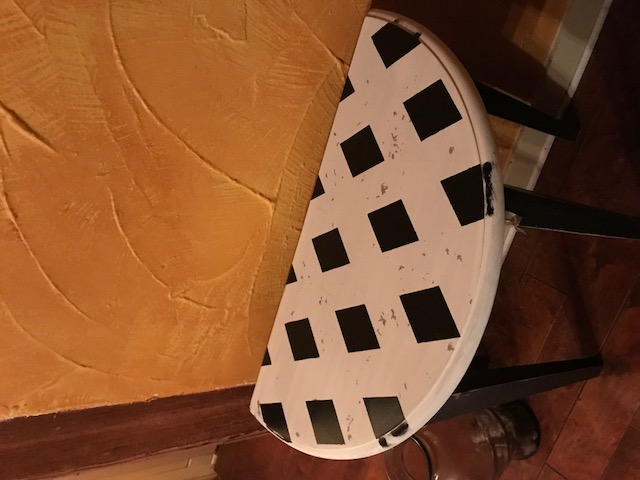
Trying to tape the harlequin pattern with narrow masking tape sort of threw my brain for a loop. Maybe because it was 4:00 in the morning? I was having a hard time with the whole “inside this line and outside that line” thing. Then I got smart and decided to use masking tape the width that I wanted my squares and life got real easy.
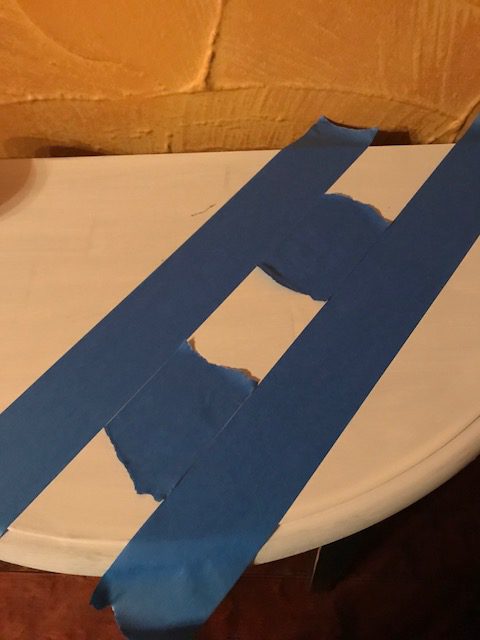
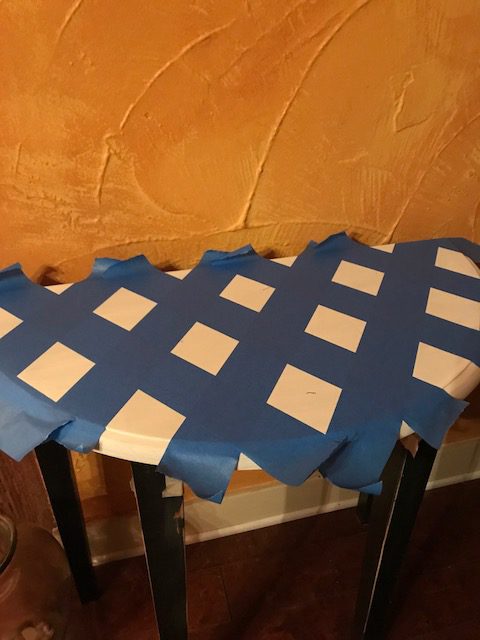
I put down my first line of tape. Then, because all squares will be the width of the tape, I used a couple of small pieces of tape as a guide as to where to put the next line of tape. I continued until all the lines in one direction were done (you can use the same “spacer” pieces over and over), then did the same thing cross-wise. After that, just paint all the open squares. Once you’re done, pull the tape to avoid paint lift.
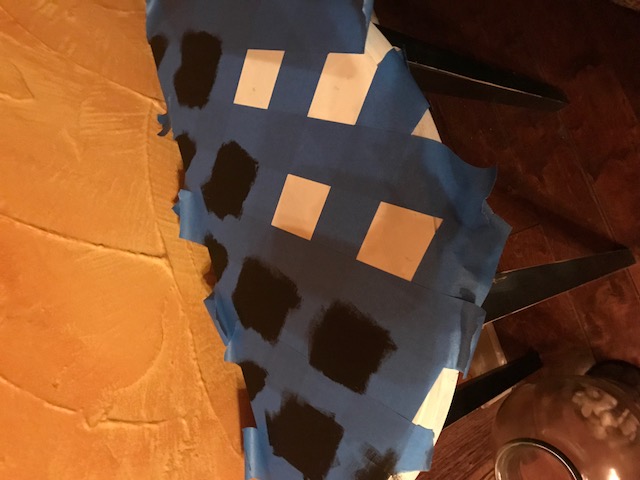
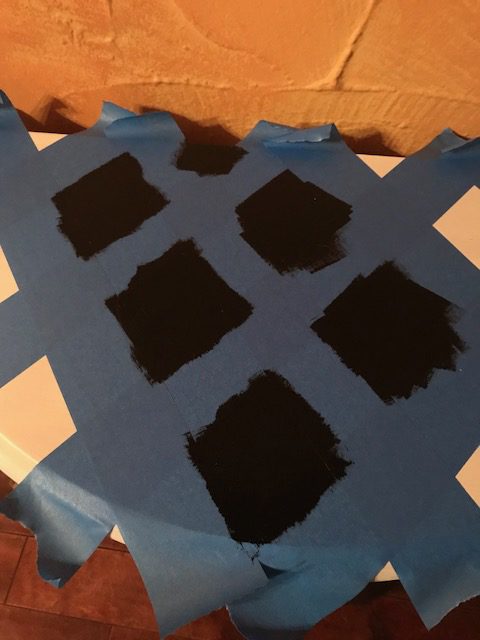
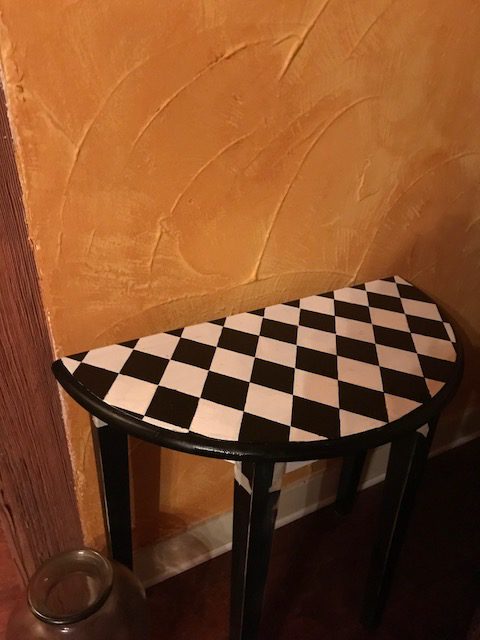
Once that’s very fully dry (because you’re about to tape over it), place tape right on top of all the rows of painted squares, and once again paint all the open squares. Pull the tape and, voila! Harlequin pattern! This only took about an hour of work, sans drying time.
This is the point where you would do a little sanding around the edges and normal “wear” spots if you want more of an aged look.
The final step, waxing, ties it all together better than the Big Lebowski’s rug. First, give it a coat or two of clear wax. This gives it a nice finish and protects the paint. Then use dark wax (I use Annie Sloan for this – I’ve had the same tin for 2 years and it’s still quite full) to give it an antique, sort of tobacco-stained patina. It takes a very small amount so start small, and if you get a little too heavy-handed with it you can use some clear wax as a sort of “eraser” to pick up the excess dark wax.
Do you have a piece of furniture you’d like to play with? Go for it! My philosophy is, if it doesn’t turn out the way you wanted, just paint it again. Not sure what to do? Send me a picture so I can give you some recommendations and paint vicariously! Come to think of it, my husband might appreciate that.


Love how you did the table!
You’re soooo creative Kelley! Love your place! And you! Xoxo
Wow. Great tip. Thanks. I can’t wait to try it!!
Wow! That is amazing!!!
Love it as always!
Very “shabbily Chic-y French”!!